×
- Live Chat
- 1-888-580-1680

My Garage
My Account
Cart
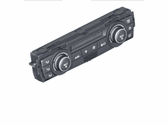
Genuine BMW 330i A/C Switch
Air Conditioning Switch- Select Vehicle by Model
- Select Vehicle by VIN
Select Vehicle by Model
orSeries
Model
Year
Select Vehicle by VIN
For the most accurate results, select vehicle by your VIN (Vehicle Identification Number).
63 A/C Switches found
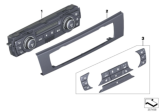
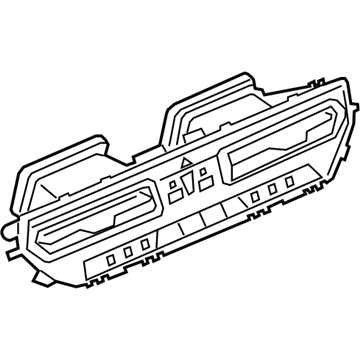
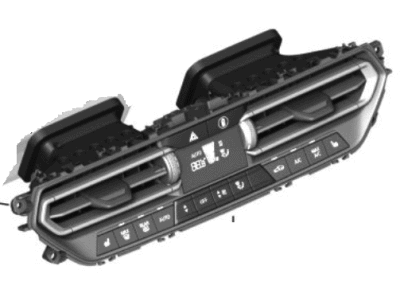
BMW 330i Front Plate, Contr. Auto Air Conditioner
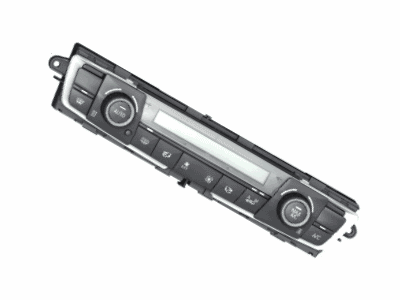
Part Number: 64116956736$60.46 MSRP: $70.91You Save: $10.45 (15%)BMW 330i Control Unit, Automatic Air Conditioner., High
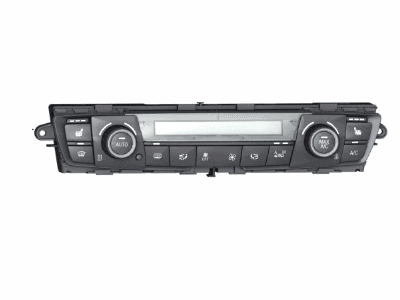
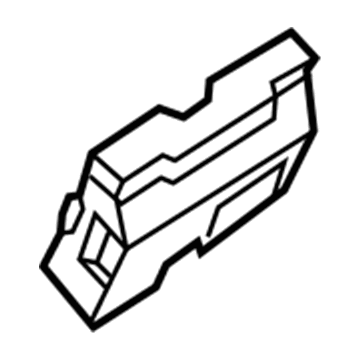
Part Number: 64119363546$945.31 MSRP: $1236.86You Save: $291.55 (24%)Ships in 1-3 Business DaysBMW 330i Control Unit, Automatic Air Conditioner., High
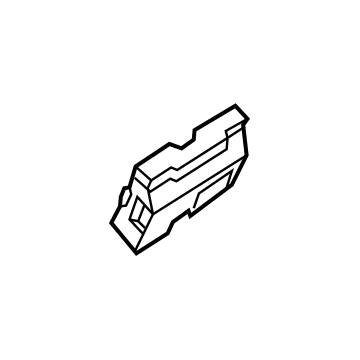
Part Number: 64119363545$945.31 MSRP: $1236.86You Save: $291.55 (24%)Ships in 1-3 Business DaysBMW 330i Control Unit, Automatic Air Conditioner., Auc
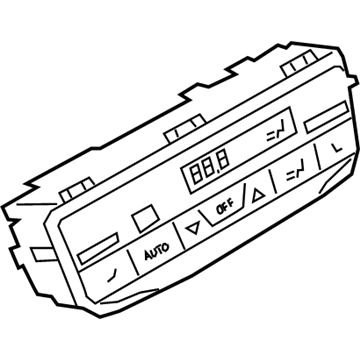
Part Number: 64116956319$876.41 MSRP: $1081.19You Save: $204.78 (19%)Ships in 1-3 Business DaysBMW 330i Automatic Air Conditioning Control
Part Number: 64119199260$833.60 MSRP: $1090.70You Save: $257.10 (24%)Ships in 1-3 Business DaysBMW 330i Control Unit, Automatic Air Conditioner., High
Part Number: 64119363544$945.31 MSRP: $1236.86You Save: $291.55 (24%)Ships in 1-3 Business DaysBMW 330i AUTOMATIC AIR CONDITIONING C
Part Number: 64119855407$973.66 MSRP: $1273.95You Save: $300.29 (24%)Ships in 1-3 Business DaysBMW 330i Front Plate, Contr. Auto Air Conditioner
Part Number: 64116966406$66.95 MSRP: $78.53You Save: $11.58 (15%)Ships in 1-3 Business DaysBMW 330i CONTROL UNIT AIR CONDITIONIN
Part Number: 64115A57101$122.18 MSRP: $167.29You Save: $45.11 (27%)Ships in 1-3 Business DaysBMW 330i CONTROL UNIT AIR CONDITIONIN
Part Number: 64115A5C510$124.01 MSRP: $169.79You Save: $45.78 (27%)Ships in 1-3 Business DaysBMW 330i AIR CONDITIONING CONTROL
Part Number: 64119459476$486.85 MSRP: $637.00You Save: $150.15 (24%)Ships in 1-3 Business DaysBMW 330i AIR CONDITIONING CONTROL
Part Number: 64119459478$486.85 MSRP: $637.00You Save: $150.15 (24%)Ships in 1-3 Business DaysBMW 330i AIR CONDITIONING CONTROL
Part Number: 64119855403$486.85 MSRP: $637.00You Save: $150.15 (24%)Ships in 1-3 Business DaysBMW 330i AIR CONDITIONING CONTROL
Part Number: 64119855405$486.85 MSRP: $637.00You Save: $150.15 (24%)Ships in 1-3 Business DaysBMW 330i CLIMATE CONTROL PANEL, REAR
Part Number: 61315A3BBF4$663.87 MSRP: $868.62You Save: $204.75 (24%)Ships in 1-3 Business DaysBMW 330i CLIMATE CONTROL PANEL, REAR
Part Number: 61315A3BBF5$663.87 MSRP: $868.62You Save: $204.75 (24%)Ships in 1-3 Business DaysBMW 330i CLIMATE CONTROL PANEL, REAR
Part Number: 61319493012$663.87 MSRP: $868.62You Save: $204.75 (24%)Ships in 1-3 Business DaysBMW 330i CLIMATE CONTROL PANEL, REAR
Part Number: 61319493013$663.87 MSRP: $868.62You Save: $204.75 (24%)Ships in 1-3 Business DaysBMW 330i Automatic Air Conditioning Control
Part Number: 64119199259$777.89 MSRP: $1017.80You Save: $239.91 (24%)Ships in 1-3 Business DaysBMW 330i Automatic Air Conditioning Control
Part Number: 64116941733$876.41 MSRP: $1081.19You Save: $204.78 (19%)Ships in 1-3 Business Days
| Page 1 of 4 |Next >
1-20 of 63 Results
BMW 330i A/C Switch
If you are looking for OEM BMW 330i A/C Switch, we highly recommend to shop with us. Not only do we offer the most budget friendly prices, but we also provide fast delivery. In addition, we have a hassle-free return policy on all genuine BMW 330i A/C Switch that come backed by the manufacturer's warranty.
BMW 330i A/C Switch Parts Questions & Experts Answers
- Q: How to remove and install a Heater/Air Conditioning/Ventilation Control Unit and Heater Assembly on BMW 330i?A: A/C Switch, Begin by disconnecting the negative battery cable. Using a plastic trim tool, pry the A/C switch from the instrument panel, releasing the clip on each side. As the switch is pulled out, remember the positions of the electrical connectors and disconnect them. Unclip the trim piece from the A/C switch. Installation is the reverse of removal. If a new A/C switch is being used, it should be programmed using BMW test equipment at a BMW dealer or a specialized technician.Heater Assembly: Firstly, have the air conditioning refrigerant discharged and recovered. At the rear of the engine compartment, remove the cabin air filter cover mounting bolts, cover, and slide the filter from its housing. Remove both the left and right-hand plastic covers behind the strut tower in the engine compartment and unclip any attached wiring harness. Pull the cable guide from the cabin air filter lower housing and remove the housing. For models with strut tower supports, remove the plastic cap from the center of the cowl trim panel, take out the center bolt, and remove the outer end bolts of the support, ensuring the grommets stay in place. For all models, detach the refrigerant lines from the expansion valve at the firewall, and then remove the valve and the plate behind it. The complete instrument panel should be removed next. After that, remove the cap from the firewall and the bolt beneath it. Unclip the footwell air ducts from the heater assembly. Clamp the heater hoses close to the firewall or drain the cooling system. Disconnect the heater hoses at the firewall and then remove the fasteners securing the heater assembly near the coolant hose connections. Make a note of the positioning and routing of all wiring harnesses/cable ducts from the instrument panel crossmember before removing them. With assistance, remove the instrument panel crossmember. Be cautious as the crossmember has sharp edges, so wearing gloves is advisable. Remove the heater assembly from the passenger side and ensure the evaporator drain grommet in the floor is clear. Installation is the reverse of removal, but remember to tighten all fasteners, replace all seals and gaskets, recharge the refrigerant, and fill the cooling system.

