×
- Live Chat
- 1-888-580-1680

My Garage
My Account
Cart
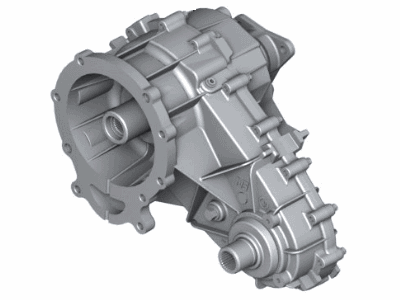
Genuine BMW X5 Transfer Case
Speed Transfer Case- Select Vehicle by Model
- Select Vehicle by VIN
Select Vehicle by Model
orSeries
Model
Year
Select Vehicle by VIN
For the most accurate results, select vehicle by your VIN (Vehicle Identification Number).
30 Transfer Cases found
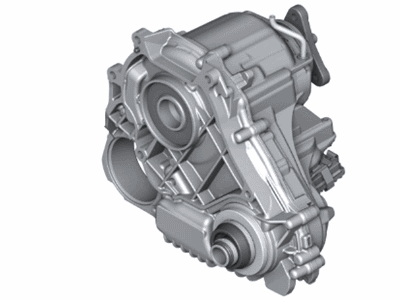
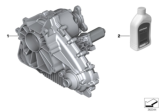
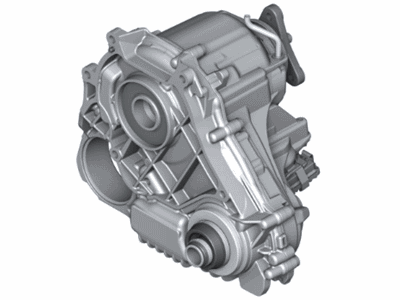
BMW X5 RP TRANSFER BOX
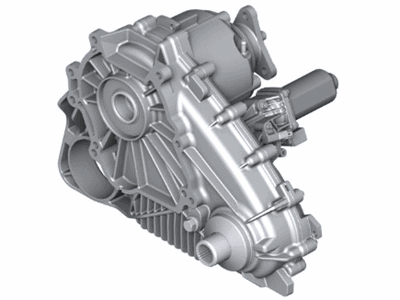
Part Number: 27107889033$4688.63 MSRP: $5954.26You Save: $1265.63 (22%)Ships in 1-2 Business DaysBMW X5 RP TRANSFER BOX
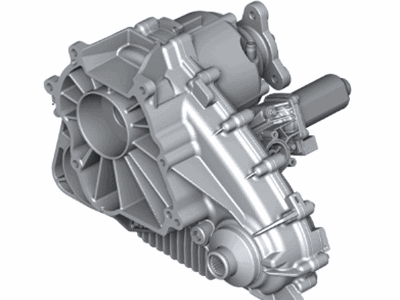
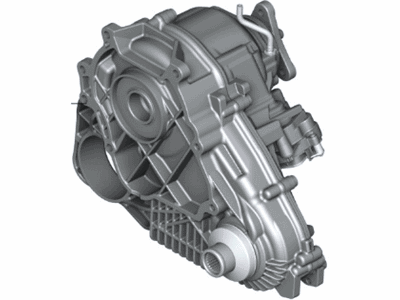
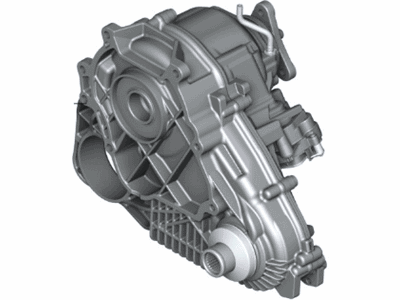
Part Number: 27107889034$4723.28 MSRP: $5954.26You Save: $1230.98 (21%)Ships in 1-2 Business DaysBMW X5 Transfer Box
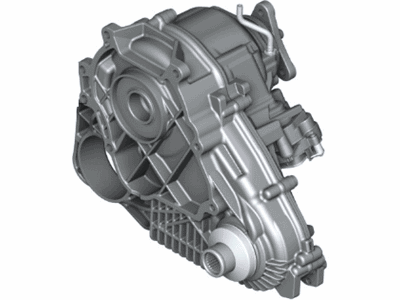
Part Number: 27109469019$4688.63 MSRP: $5954.26You Save: $1265.63 (22%)Ships in 1-3 Business DaysBMW X5 Transfer Case Box
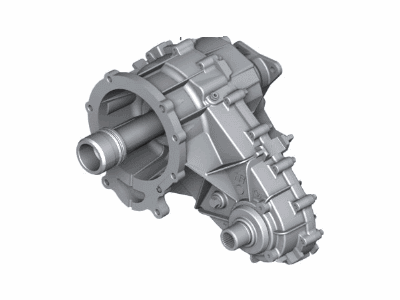
Part Number: 27107643751$3849.25 MSRP: $4888.31You Save: $1039.06 (22%)Ships in 1-3 Business DaysBMW X5 Transfer Case
Part Number: 27107599886$3540.60 MSRP: $4465.69You Save: $925.09 (21%)Ships in 1-3 Business DaysBMW X5 Transfer Case
Part Number: 27107643758$4068.17 MSRP: $5135.66You Save: $1067.49 (21%)Ships in 1-3 Business DaysBMW X5 Transfer Case
Part Number: 27107555297$2889.52 MSRP: $3780.71You Save: $891.19 (24%)Ships in 1-3 Business DaysBMW X5 Transfer Case Gearbox
Part Number: 27108623348$4101.21 MSRP: $5177.63You Save: $1076.42 (21%)Ships in 1-3 Business DaysBMW X5 TRANSFER BOX
Part Number: 27109469020$4723.28 MSRP: $5954.26You Save: $1230.98 (21%)Ships in 1-3 Business DaysBMW X5 Transfer Case
Part Number: 27108686666$4723.28 MSRP: $5954.26You Save: $1230.98 (21%)Ships in 1-3 Business DaysBMW X5 Transfer Case
Part Number: 27108697255$4101.21 MSRP: $5177.63You Save: $1076.42 (21%)Ships in 1-3 Business DaysBMW X5 Transfer Case
Part Number: 27108090770$4923.06 MSRP: $6251.99You Save: $1328.93 (22%)Ships in 1-3 Business DaysBMW X5 Transfer Case
Part Number: 27108623349$4722.65 MSRP: $5954.26You Save: $1231.61 (21%)Ships in 1-3 Business DaysBMW X5 Transfer Case
Part Number: 27108697256$4722.65 MSRP: $5954.26You Save: $1231.61 (21%)Ships in 1-3 Business DaysBMW X5 Transfer Case Box
Part Number: 27107643752$4243.89 MSRP: $5358.82You Save: $1114.93 (21%)Ships in 1-3 Business DaysBMW X5 Reman Transfer Case
Part Number: 27107504567$2600.57 MSRP: $3402.64You Save: $802.07 (24%)Ships in 1-3 Business DaysBMW X5 Transfer Case
Part Number: 27107519533$2989.02 MSRP: $3795.87You Save: $806.85 (22%)Ships in 1-3 Business DaysBMW X5 Transfer Case
Part Number: 27108697972$3849.25 MSRP: $4888.31You Save: $1039.06 (22%)Ships in 1-3 Business DaysBMW X5 TRANSFER BOX
Part Number: 27109847756$4280.92 MSRP: $5436.50You Save: $1155.58 (22%)Ships in 1-3 Business Days
| Page 1 of 2 |Next >
1-20 of 30 Results
BMW X5 Transfer Case
If you are looking for OEM BMW X5 Transfer Case, we highly recommend to shop with us. Not only do we offer the most budget friendly prices, but we also provide fast delivery. In addition, we have a hassle-free return policy on all genuine BMW X5 Transfer Case that come backed by the manufacturer's warranty.
BMW X5 Transfer Case Parts Questions & Experts Answers
- Q: How do you safely remove and replace the transfer case on BMW X5?A: Raise the vehicle and support it safely, then remove the splash guard under the engine and the front end reinforcement. Next, remove the exhaust system and exhaust heat shield, followed by the front stabilizer bar. For the front driveshaft, be prepared to catch any dripping fluid. With the automatic transmission in PARK, hold the linkage stationary and loosen the selector lever cable clamping nut, then slide out the cable retaining clip and detach the cable from the transmission range switch. Support the transmission on a jack and free the harnesses for the oxygen sensors and back-up light switch from the transmission rear support. Remove the mounting fasteners for the rear support of the transmission and transfer case, then lower the support. For models with xDrive, detach the xDrive clutch actuator electrical harnesses and the vent line from the transfer case, and unclip the cable from the transfer case. At the transfer case output flange, use paint to matchmark the rear driveshaft flex-disc flanges, then remove the driveshaft center bearing support fasteners and support the center of the driveshaft. Detach the rear driveshaft flex-disc from the transfer case, ensuring to hold the bolts stationary while loosening the nuts to avoid damaging the flex-disc rubber. Lower the center of the driveshaft sufficiently to disengage the flex-disc from the transfer case flange and tie the driveshaft to the side, taking care not to allow it to hang unsupported to prevent damage to the rear driveshaft CV joint. While supporting the transfer case, remove the mounting bolts and lower the transfer case. During installation, inspect the dowel sleeves and replace if damaged, transfer the vents hose, covers, and protective caps to the new transfer case, and replace the input shaft sealing O-ring if applicable. Apply a thin coat of Weicon® antiseize grease to the input shaft splines, ensuring to follow the correct installation procedure for the front end reinforcement. After completing the work, check and top off the fluid level, and after filling the transfer case, drive the vehicle approximately 200 meters (600 ft) and recheck the fluid level. For models with xDrive, use the BMW service tool DISplus, GT1, or MoDiC to carry out the "Repair" service function.
Related BMW X5 Parts
Browse by Year
2023 Transfer Case 2022 Transfer Case 2021 Transfer Case 2020 Transfer Case 2019 Transfer Case 2018 Transfer Case 2017 Transfer Case 2016 Transfer Case 2015 Transfer Case 2014 Transfer Case 2013 Transfer Case 2012 Transfer Case 2011 Transfer Case 2010 Transfer Case 2009 Transfer Case 2008 Transfer Case 2007 Transfer Case 2006 Transfer Case 2005 Transfer Case 2004 Transfer Case 2003 Transfer Case 2002 Transfer Case 2001 Transfer Case 2000 Transfer Case
