×
- Hello
- Login or Register
- Quick Links
- Live Chat
- Track Order
- Parts Availability
- RMA
- Help Center
- Contact Us
- Shop for
- BMW Parts
- BMW Accessories

My Garage
My Account
Cart
Genuine BMW Z4 Headlight
Headlamp- Select Vehicle by Model
- Select Vehicle by VIN
Select Vehicle by Model
orSeries
Model
Year
Select Vehicle by VIN
For the most accurate results, select vehicle by your VIN (Vehicle Identification Number).
29 Headlights found

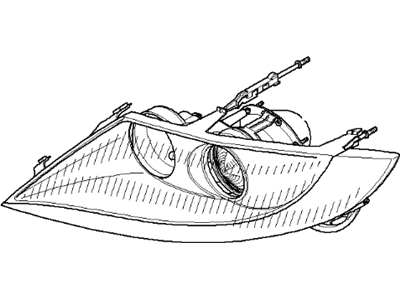
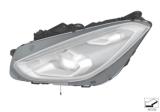
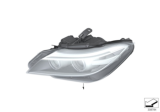
BMW Z4 Right Headlight
Part Number: 63127165678$684.79 MSRP: $896.00You Save: $211.21 (24%)Ships in 1-3 Business Days
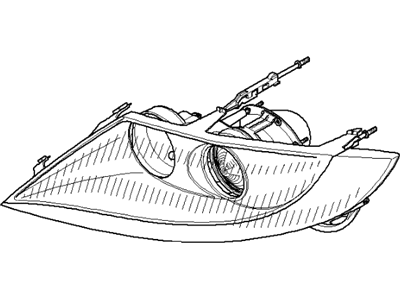
BMW Z4 Headlight Front Left
Part Number: 63127165677$684.79 MSRP: $896.00You Save: $211.21 (24%)Ships in 1-3 Business Days
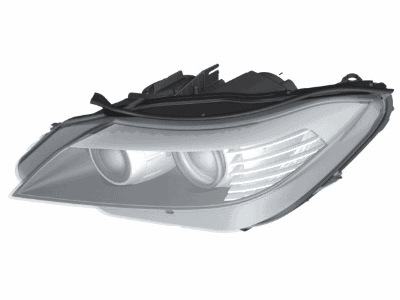
BMW Z4 Composite Assy
Part Number: 63127162721$2275.98 MSRP: $2519.79You Save: $243.81 (10%)Ships in 1-3 Business Days
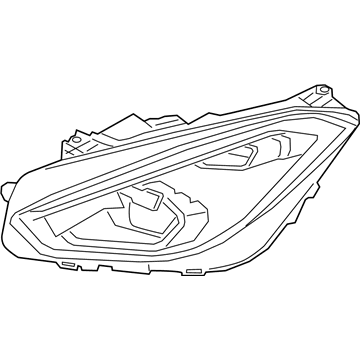
BMW Z4 Left Headlight
Part Number: 63127165653$684.79 MSRP: $896.00You Save: $211.21 (24%)Ships in 1-3 Business Days
BMW Z4 Headlight Front Right
Part Number: 63127165702$2275.98 MSRP: $2519.79You Save: $243.81 (10%)Ships in 1-3 Business DaysBMW Z4 Right Headlight
Part Number: 63127165666$849.47 MSRP: $1111.47You Save: $262.00 (24%)Ships in 1-3 Business DaysBMW Z4 Headlamp Assembly Left
Part Number: 63127165665$849.47 MSRP: $1111.47You Save: $262.00 (24%)Ships in 1-3 Business DaysBMW Z4 Roadster Bi-Xenon Headlight Right
Part Number: 63127162728$2275.98 MSRP: $2519.79You Save: $243.81 (10%)Ships in 1-3 Business DaysBMW Z4 Front Left Headlight Lhd
Part Number: 63127165713$2275.98 MSRP: $2519.79You Save: $243.81 (10%)Ships in 1-3 Business DaysBMW Z4 Headlight Front Right
Part Number: 63127165720$2275.98 MSRP: $2519.79You Save: $243.81 (10%)Ships in 1-3 Business DaysBMW Z4 HEADLIGHT, LED TECHNOLOGY, L
Part Number: 63119498473$2203.42 MSRP: $2700.13You Save: $496.71 (19%)Ships in 1-3 Business DaysBMW Z4 Left Headlight
Part Number: 63127348953$1352.90 MSRP: $2124.20You Save: $771.30 (37%)Ships in 1-3 Business DaysBMW Z4 Right Headlight
Part Number: 63127348954$1352.90 MSRP: $2124.20You Save: $771.30 (37%)Ships in 1-3 Business DaysBMW Z4 Headlight Right
Part Number: 63127165654$684.79 MSRP: $896.00You Save: $211.21 (24%)Ships in 1-3 Business DaysBMW Z4 Left Headlight
Part Number: 63127165689$849.47 MSRP: $1111.47You Save: $262.00 (24%)Ships in 1-3 Business DaysBMW Z4 Right Headlight
Part Number: 63127165690$849.47 MSRP: $1111.47You Save: $262.00 (24%)Ships in 1-3 Business DaysBMW Z4 Headlight Front Left
Part Number: 63127165701$2275.98 MSRP: $2519.79You Save: $243.81 (10%)Ships in 1-3 Business DaysBMW Z4 Right Headlight
Part Number: 63127165714$2275.98 MSRP: $2519.79You Save: $243.81 (10%)Ships in 1-3 Business Days
| Page 1 of 2 |Next >
1-20 of 29 Results
BMW Z4 Headlight
If you are looking for OEM BMW Z4 Headlight, we highly recommend to shop with us. Not only do we offer budget friendly prices, but we also provide fast delivery. In addition, we have a hassle-free return policy on all genuine BMW Z4 Headlight that come backed by the manufacturer's warranty.
BMW Z4 Headlight Parts Questions & Experts Answers
- Q: How do you remove and install the headlight and Fog Light on BMW Z4?A:To remove the headlight, first detach the relevant direction indicator light and, if applicable, carefully lever out the headlight washer jet from the trim below the headlamp, separating it from the washer tube. Unclip the inboard end of the headlight trim, press it down slightly to release the center retaining clips, and disengage the outboard end from the front fender; if needed, the headlight lens can be removed by releasing the retaining clips. Disconnect all wiring connectors from the rear of the headlight, then loosen and remove the four retaining screws, ensuring the plastic retaining clips do not rotate. Remove the headlight unit from the vehicle, and for installation, reverse the removal procedure, lightly tighten the screws, check alignment with the bumper and hood, and securely tighten the screws while checking the headlight beam alignment. For the xenon headlight control unit, remove the headlight, take out the two retaining screws, slide the control unit to the rear, and remove it; if necessary, separate it from the mounting bracket. For the front direction indicator light, release the retaining clip or screw, slide the light forward, and disconnect the wiring connector, then reverse the procedure for installation. For the front indicator side marker, gently push the lens forward, withdraw it, and disconnect the wiring connector, reversing the procedure for installation. For the front fog light, carefully lever it from the bumper or remove the bumper trim and screws, disconnect the wiring connector, and reverse the procedure for installation. For the rear light cluster, release the retaining clip or remove the faster, detach the luggage compartment side trim if necessary, remove the retaining nuts, and take out the cluster, reversing the procedure for installation. For body-mounted lights in the Sport Wagon, fold back the flap, release the retaining clip, lift the bulb-holder assembly, remove the retaining nuts, and take out the light cluster, reversing the procedure for installation. For trunk lid-mounted lights, pry out the clips, release the retaining clip, remove the bulb holder, securing nut, and plastic retainer, and take out the light cluster, reversing the procedure for installation. For tailgate-mounted lights, carefully pry the light unit from the trim panel, disconnect the wiring connector, remove the trim panel, disconnect the rear light cluster wiring connector, release the retaining clip, and remove the bulb holder, then loosen the securing nut and remove the light cluster, reversing the procedure for installation. For the license plate light, pry out the lens, disconnect the wiring connector, and reverse the procedure for installation. To access the headlight range control motors, remove the headlight lens and bulb holders, pull the headlight frame towards the front, remove the protective rubber seals, mark the original position, and turn the central adjuster wheel clockwise to release the insert. Disconnect the range control motor, remove the retaining screws, and disconnect the wiring connector. For installation, release the retaining clips, remove the black plastic trim, clip the outer adjuster piece onto the insert, align the central adjusting piece, and push the insert onto the range control motor socket, then install the black plastic trim. Finally, have the headlight beam aim checked and adjusted if necessary.


