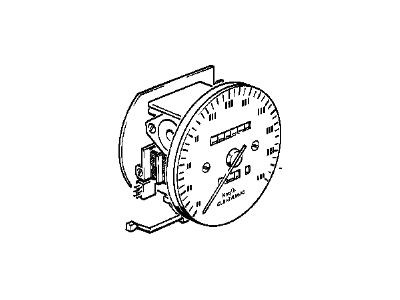
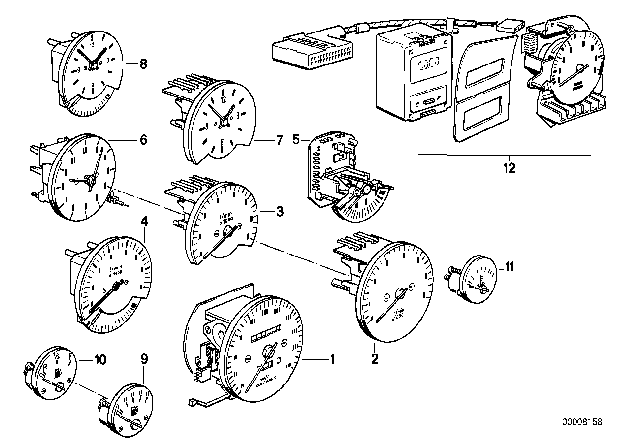
The tasks related to the instrument panel removal are quite time-consuming and many connectors should be disconnected before the actual process starts so it is necessary to mark and group those elements that have been disconnected, dismantled or removed. For the 3 series' units, the user should begin with the removal of the negative terminal from the battery and, in case the car is equipped with the SRS, it is advisable to wait for 11 minutes. SRS should be defeated and deleted if required, and then the center console should be detached. Subsequently, pull the glove box; unscrew the mounting bolts, and unplug electrical connectors. Pop out the lower left dash trim plate which is mounted by screws and also has snap clips on the lower part to the driver's side footwell. If fitted then take out the driver side and passenger air bags and then the steering wheel and driver side knee bolster. Go ahead and take out the instrument cluster, headlight switch, radio, climate control head and module, turn signal and windshield wiper/washer stalk switches and the windshield trim on both the left and right side. Take off the reinforcement bar under the steering column and shear bolts, after which lower and stabilize the steering column. Unscrew the glove compartment support frame fasteners and join frame assembly, also to deactivate and uplift the defroster outlets and in addition to that unscrew the mounting bolts with respect to both sides of the dashboard assembly. Last of all, gently remove the instrument trim panel with all the harness connectors and wiring disconnected, and the procedure of installation is in the reverse. For Z3 models, the same as for other models, the process starts with the removal of the negative battery cable and 11-minute waiting followed by the disabling and removal of SRS components. The main cowl, the steering, and driver side knee bolster attachment screws have to be unscrewed. Next remove the instrument cluster, headlight switch, radio, climate control head and module, as well as the turn signal and windshield wiper/washer stalk switches. Pop open the glove compartment, unscrew the finishing caps and screws and, at the right end of the dash, unscrew the trim caps too. Open the glove box, push it to the bottom and unscrew covers. For the internal connectors located close to the X-bracing; you will have to take down some fasteners associated with the passenger's side airbag bracket together with the mounting fasteners within door jamb areas and under the center airs vents. Bolt covers are usually located at the base of the windshield and just pull off the instrument panel from the passenger side and in the same manner the range pull off from the driver's side and bolts are installed at the regular places on the bonnet.
Posted by BMWPartsDeal Specialist 


