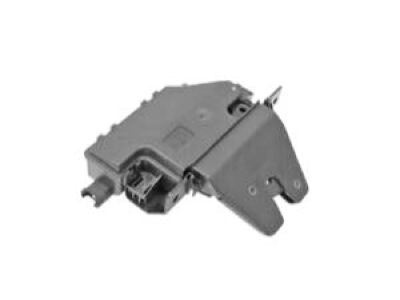
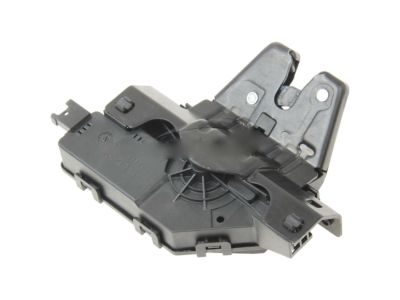
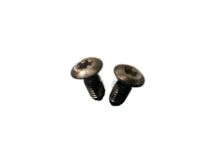
To remove the sedan or coupe trunk lid latch, first open the trunk and take out the toolbox lid retaining screw and toolbox hinge screws, then remove the toolbox from the trunk trim panel. Next, pry up the center pins to take out the plastic expanding rivets and remove the trim panel from the trunk lid. Disconnect the wiring connector, remove the two screws, and carefully pull away the cover panel from the latch, starting at the edge adjacent to it. Disconnect the latch wiring connector, remove the three screws, and maneuver the latch from the trunk lid while leveraging away the actuating rod as it is withdrawn. For the trunk lid lock cylinder, remove the trim panel and the driver's side rear light assembly. After removing the light, take out the two retaining screws and the cover from the rear of the lock cylinder, then disconnect the lock cylinder wiring connector. Pull out the locking piece and carefully detach the actuating rod from the lock cylinder arm. Remove the two retaining screws, rotate the cylinder clockwise until the lock brackets align with the cut-outs in the panel, and pull the lock from the panel. For the sport wagon tailgate latch, remove both D-pillar trims, pry out the plastic caps, and take out the four retaining screws from the top of the tailgate sill trim panel, followed by the two lower screws to maneuver the panel from the vehicle. Make alignment marks between the latch and the panel, remove the four screws, and take out the latch while disconnecting the wiring connector as it is withdrawn. If necessary, remove the two retaining screws to detach the latch actuator from the latch. Installation is the reverse of removal, ensuring to reconnect all wiring connectors and secure the wiring harnesses with retaining clips where applicable, match any previously made alignment marks, check the operation of the latches and lock cylinders before installing the trim panels, and tighten all fasteners securely.
Posted by BMWPartsDeal Specialist 
