×
- Hello
- Login or Register
- Quick Links
- Live Chat
- Track Order
- Parts Availability
- RMA
- Help Center
- Contact Us
- Shop for
- BMW Parts
- BMW Accessories

My Garage
My Account
Cart
Genuine BMW 325i Axle Shaft
Car Axle Shaft- Select Vehicle by Model
- Select Vehicle by VIN
Select Vehicle by Model
orSeries
Model
Year
Select Vehicle by VIN
For the most accurate results, select vehicle by your VIN (Vehicle Identification Number).
13 Axle Shafts found
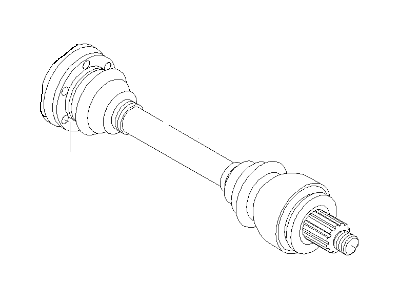
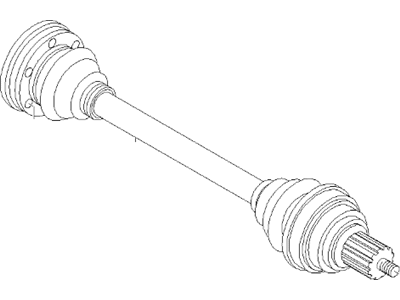
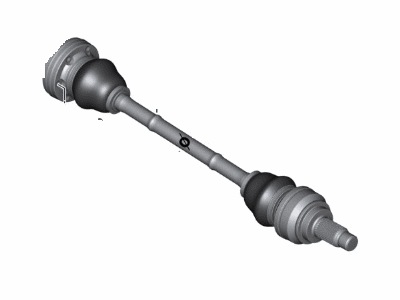
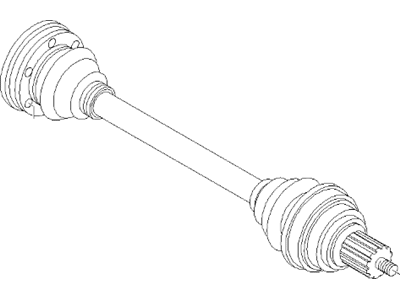
BMW 325i Cv Axle Assembly Rear Right
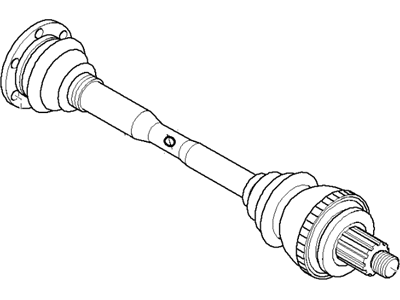
Part Number: 33217547074$572.78 MSRP: $744.91You Save: $172.13 (24%)Ships in 1-3 Business DaysBMW 325i Left Rear Axle Shaft Assembly
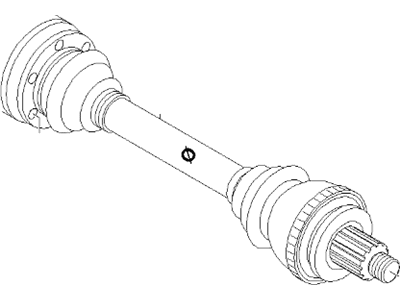
Part Number: 33217547073$1030.37 MSRP: $1348.15You Save: $317.78 (24%)Ships in 1-3 Business DaysBMW 325i Cv Axle Assembly Left
Part Number: 33217504521$790.62 MSRP: $831.51You Save: $40.89 (5%)Ships in 1-3 Business DaysBMW 325i Axle Output Shaft
Part Number: 33211226901$690.11 MSRP: $725.66You Save: $35.55 (5%)Ships in 1-3 Business DaysBMW 325i Cv Axle Assembly Left
Part Number: 33207559933$523.26 MSRP: $683.27You Save: $160.01 (24%)Ships in 1-3 Business DaysBMW 325i Cv Axle Shaft Right
Part Number: 33207559934$572.78 MSRP: $744.91You Save: $172.13 (24%)Ships in 1-3 Business DaysBMW 325i Shafts Rear Right Cv Axle Shaft
Part Number: 33217504523$790.62 MSRP: $831.51You Save: $40.89 (5%)Ships in 1-3 Business DaysBMW 325i Cv Axle Assembly Rear Left
Part Number: 33211229591$595.64 MSRP: $623.63You Save: $27.99 (5%)Ships in 1-3 Business DaysBMW 325i Rear Axle Shaft
Part Number: 33211229592$595.64 MSRP: $623.63You Save: $27.99 (5%)Ships in 1-3 Business DaysBMW 325i Cv Axle Assembly Rear Right
Part Number: 33217561798$519.31 MSRP: $679.47You Save: $160.16 (24%)BMW 325i Rear Axle Output Shaft
Part Number: 33211227585$295.25 MSRP: $406.26You Save: $111.01 (28%)
BMW 325i Axle Shaft
The Axle Shaft in BMW 325i cars is a major machinery that is used to connect the differential to the wheel hub. It also enables the rotative movement of each wheel, thus the vehicle is able to have better traction while cornering. It usually includes one or more CV joints that would allow the power to transfer over jointed connections, of considerable importance for the independent suspension system of the automobile construction. Of the foregoing years, live axles have been used to transmit torque and split axles, which enhance the ride quality of the 325i. The main difference between the live axles and the split axles is in their design; the live axles bear the load and transfer the twisting force while the split axles allow for the independent suspension which gives the more comfortable ride. This is why, replacement of worn axle shafts or even CV joints should always be carried before operational use of such vehicles in order to avoid some expensive damages.
If you are looking for OEM BMW 325i Axle Shaft, we highly recommend to shop with us. Not only do we offer budget friendly prices, but we also provide fast delivery. In addition, we have a hassle-free return policy on all genuine BMW 325i Axle Shaft that come backed by the manufacturer's warranty.
BMW 325i Axle Shaft Parts Questions & Experts Answers
- Q: How to remove the front and rear driveaxles on BMW 325i?A:For AWD models, when removing the front, start by having the vehicle on its wheels, remove the wheel trim/hub cap, and loosen the Axle Shaft retaining nut or bolt and the wheel bolts. Before loosening the Axle Shaft nut, use a hammer and punch to push out the staked portion of the nut. On F-series chassis models, always replace the Axle Shaft bolt and small compression spring whenever they are removed. Block the rear wheels, raise the vehicle front, support on jackstands, and take off the front wheel. Detach the ABS wheel speed sensor, set the brake caliper aside without disconnecting the brake fluid hose. Disconnect the stabilizer bar link from the strut and separate the tension strut and control arm from the knuckle. Push the Axle Shaft stub through the hub while pulling the steering knuckle outwards. Pry the inboard CV joint away from the front differential housing. For the right Axle Shaft, pry against the bearing bracket. For installation, remove the snap-ring from the Axle Shaft's inboard end and install a new one. Lubricate the nut-to-wheel bearing area, tighten the nut to the needed torque without oiling the threads, stake the nut post-tightening, and add new inner joint retaining bolts and plates, tightening them to the necessary torque.For the rear, with the vehicle on its wheels, remove the wheel trim/hub cap and loosen the Axle Shaft retaining nut and wheel bolts. Push out the staked portion of the Axle Shaft nut using a hammer and punch. Block the front wheels, raise the rear, and support on jackstands before removing the rear wheel. For E-series chassis, if removing the left Axle Shaft, remove the exhaust system tailpipe. Loosen and remove the stabilizer bar mounts, pivot the bar downwards. Mark alignment, then loosen and remove bolts securing the Axle Shaft CV joint to the rear differential. Withdraw the outer CV joint from the hub assembly. Tap or press it out if needed and then remove the driveshaft.For F-series chassis models, remove the Axle Shaft nut, push the axle slightly inwards, support the rear differential, then remove the mounting bolt/nuts and lower the differential. Pry the inboard CV joint away from the rear differential housing until the Axle Shaft is free, slide the Axle Shaft out of the differential, and have a pan ready for spilled lubricant. For installation, note the following: On E-series chassis models, install new inner joint retaining bolts and plates and tighten. On F-series chassis models, check the dust plate, replace the circlip on the Axle Shaft's end, and coat the seal contact with differential oil. Slide the Axle Shaft into the rear differential until an audible click is heard. Reinstall the rear differential assembly and refill it. Lubricate the nut-to-hub flange area, tighten the nut without oiling the threads, and then stake the nut once tightened.
