×
- Live Chat
- 1-888-580-1680

My Garage
My Account
Cart
Genuine BMW 328i Instrument Cluster
Speedometer Instrument Cluster- Select Vehicle by Model
- Select Vehicle by VIN
Select Vehicle by Model
orSeries
Model
Year
Select Vehicle by VIN
For the most accurate results, select vehicle by your VIN (Vehicle Identification Number).
89 Instrument Clusters found
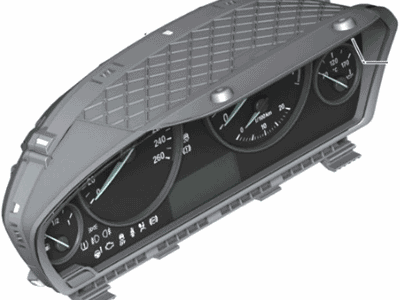
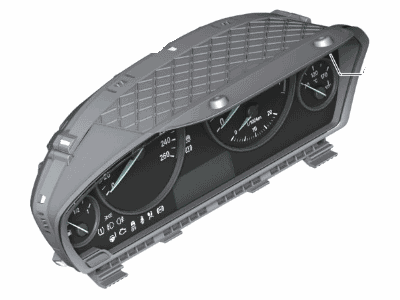
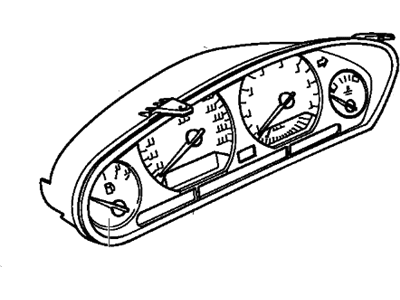
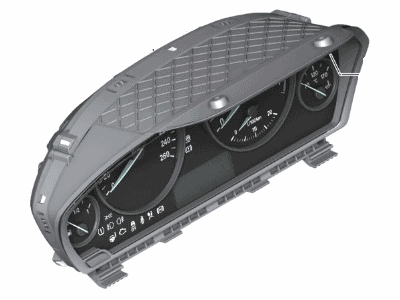
BMW 328i INSTRUMENT CLUSTER
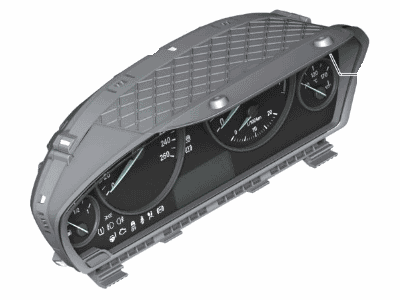
Part Number: 62105A03A32$1137.10 MSRP: $1487.80You Save: $350.70 (24%)Ships in 1-3 Business DaysBMW 328i INSTRUMENT CLUSTER
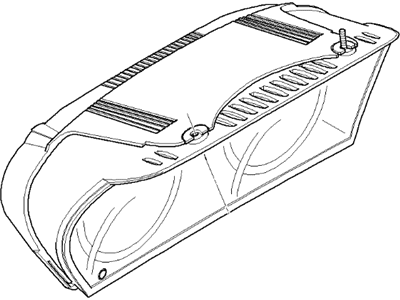
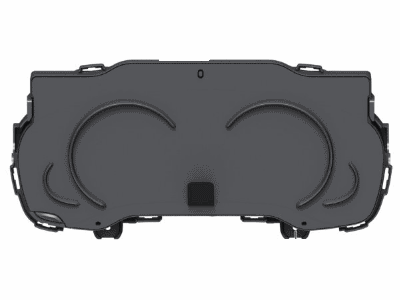
Part Number: 62108718281$1033.71 MSRP: $1352.53You Save: $318.82 (24%)Ships in 1-3 Business DaysBMW 328i INSTRUMENT CLUSTER
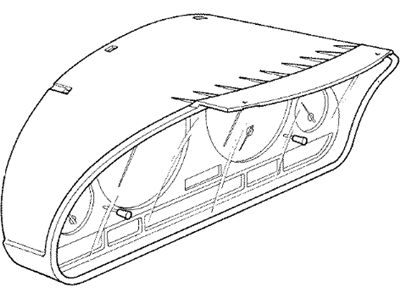
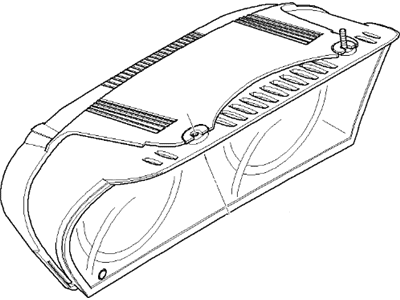
Part Number: 62109442851$2030.87 MSRP: $2657.23You Save: $626.36 (24%)Ships in 1-3 Business DaysBMW 328i Instrument Cluster
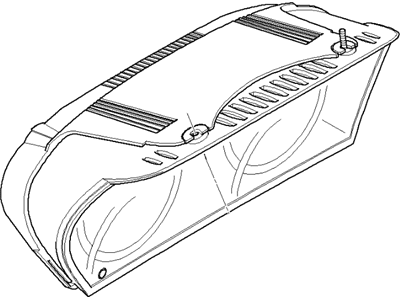
Part Number: 62108803168$1033.71 MSRP: $1352.53You Save: $318.82 (24%)Ships in 1-3 Business DaysBMW 328i RP REMAN INSTRUMENT CLUSTER
Part Number: 62108379811$978.23 MSRP: $1356.08You Save: $377.85 (28%)Ships in 1-2 Business DaysBMW 328i Instrument Cluster Speedometer
Part Number: 62116985644$1755.47 MSRP: $2445.08You Save: $689.61 (29%)Ships in 1-3 Business DaysBMW 328i INSTRUMENT CLUSTER
Part Number: 62105A03A26$1137.10 MSRP: $1487.80You Save: $350.70 (24%)Ships in 1-3 Business DaysBMW 328i INSTRUMENT CLUSTER
Part Number: 62105A03A39$1137.10 MSRP: $1487.80You Save: $350.70 (24%)Ships in 1-3 Business DaysBMW 328i Instrument Cluster
Part Number: 62108803209$1137.10 MSRP: $1487.80You Save: $350.70 (24%)Ships in 1-3 Business DaysBMW 328i Instrument Cluster Speedometer
Part Number: 62109316148$982.03 MSRP: $1284.91You Save: $302.88 (24%)Ships in 1-3 Business DaysBMW 328i Instrument Cluster
Part Number: 62106847253$1137.10 MSRP: $1487.80You Save: $350.70 (24%)Ships in 1-3 Business DaysBMW 328i INSTRUMENT CLUSTER
Part Number: 62109436306$1137.10 MSRP: $1487.80You Save: $350.70 (24%)Ships in 1-3 Business DaysBMW 328i INSTRUMENT CLUSTER
Part Number: 62109436313$1137.10 MSRP: $1487.80You Save: $350.70 (24%)Ships in 1-3 Business DaysBMW 328i INSTRUMENT CLUSTER
Part Number: 62109442850$2022.82 MSRP: $2646.70You Save: $623.88 (24%)Ships in 1-3 Business DaysBMW 328i Instrument Cluster Speedometer
Part Number: 62109283814$982.03 MSRP: $1284.91You Save: $302.88 (24%)Ships in 1-3 Business DaysBMW 328i Instrument Cluster Speedometer
Part Number: 62109316133$982.03 MSRP: $1284.91You Save: $302.88 (24%)Ships in 1-3 Business DaysBMW 328i Instrument Cluster Speedometer
Part Number: 62109316145$982.03 MSRP: $1284.91You Save: $302.88 (24%)Ships in 1-3 Business DaysBMW 328i Instrument Cluster Speedometer
Part Number: 62109316149$982.03 MSRP: $1284.91You Save: $302.88 (24%)Ships in 1-3 Business DaysBMW 328i Instrument Cluster Speedometer
Part Number: 62109316151$982.03 MSRP: $1284.91You Save: $302.88 (24%)BMW 328i Instrument Cluster
Part Number: 62106836896$1033.71 MSRP: $1352.53You Save: $318.82 (24%)Ships in 1-3 Business Days
| Page 1 of 5 |Next >
1-20 of 89 Results
BMW 328i Instrument Cluster
If you are looking for OEM BMW 328i Instrument Cluster, we highly recommend to shop with us. Not only do we offer the most budget friendly prices, but we also provide fast delivery. In addition, we have a hassle-free return policy on all genuine BMW 328i Instrument Cluster that come backed by the manufacturer's warranty.
BMW 328i Instrument Cluster Parts Questions & Experts Answers
- Q: What are the steps and considerations for removing and installing the instrument panel on BMW 328i?A: This is a tough process for the DIYer. Numerous hard-to-reach screws as well as countless electrical connectors to identify and detach. Start by taking out the central console. Then unplug and remove the negative battery cable. After that, get rid of the steering column, both trim panels on A-pillars, and lower trim panel on passenger's side. At this point any electrical connections should be disconnected when removing the panel. Subsequently, you need to remove the instrument cluster, light control unit/switch and decorative trim panel from right side of instrument panel. You must remove the heating/air conditioning control panel also. Just after prying off driver's side surround trim on instrument panel, you are supposed to take off mounting bolts before removal of ignition switch; if there are any electrical connections here just disconnect them while removing such a switch. In addition take out audio from the instrument panel as well as glove box and end caps located at passenger's side respectively.Disconnect airbag electrical connectors which are on passenger's side.The support bracket for airbag is fastened onto instrument panel using a fastener in it.Get rid of center speaker from inside an instrument dashboard where fitted.In case there is no loudspeaker on these models lift up vent grilles then they will be removed upon undoing bolts below.Solar sensor must be carefully pried away from fascia center followed by disconnection of its electric terminal.Pull rear cabin centre vent duct out lower dashboard.Its fasteners are now through at mid-point and ends thus move ahead to withdraw these bolts properly; with assistant giving you hand gently pull back this device.Then disconnect all those wires coming off it noting their installed positions in order not to mix up things while reassembling vehicle.Avoid touching or damaging other wires when transferring one part into another.Installation is reverse procedure but observe following:Put into position an entire device and ensure that wiring passes correctly between clips attached to it.The instrument panel should be snapped back to its right place, with locating jugs at front edge engaging properly and wires fed across their openings.All instrumental fasteners must be tightened well.Reconnect battery and ascertain that normal functioning of all switches together with electrical parts is adhered to.
Related BMW 328i Parts
Browse by Year
2016 Instrument Cluster 2015 Instrument Cluster 2014 Instrument Cluster 2013 Instrument Cluster 2012 Instrument Cluster 2011 Instrument Cluster 2010 Instrument Cluster 2009 Instrument Cluster 2008 Instrument Cluster 2007 Instrument Cluster 2000 Instrument Cluster 1999 Instrument Cluster 1998 Instrument Cluster 1997 Instrument Cluster 1996 Instrument Cluster
