×
- Hello
- Login or Register
- Quick Links
- Live Chat
- Track Order
- Parts Availability
- RMA
- Help Center
- Contact Us
- Shop for
- BMW Parts
- BMW Accessories

My Garage
My Account
Cart
Genuine BMW Z4 Steering Column
Steering Column Tilt- Select Vehicle by Model
- Select Vehicle by VIN
Select Vehicle by Model
orSeries
Model
Year
Select Vehicle by VIN
For the most accurate results, select vehicle by your VIN (Vehicle Identification Number).
5 Steering Columns found
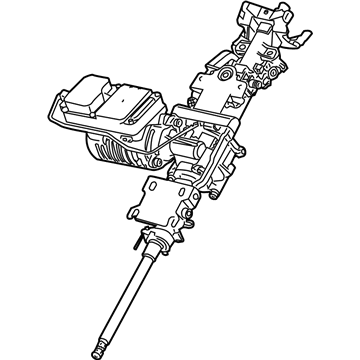
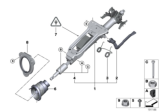
BMW Z4 Steering Column Assy With Servo Unit
Part Number: 32306780728$4527.49 MSRP: $5835.45You Save: $1307.96 (23%)Ships in 1-3 Business DaysBMW Z4 Manually Adjust. Steering Co
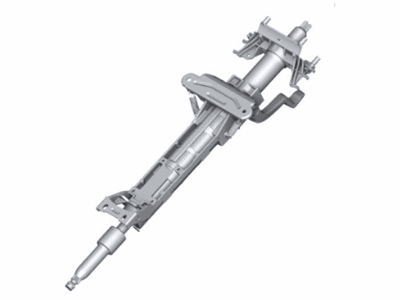
Part Number: 32306896187$939.89 MSRP: $1159.50You Save: $219.61 (19%)Ships in 1-3 Business DaysBMW Z4 Steering Column Assy With Servo Unit
Part Number: 32306780729$4527.49 MSRP: $5835.45You Save: $1307.96 (23%)Ships in 1-3 Business DaysBMW Z4 Manually Adjust. Steering Column
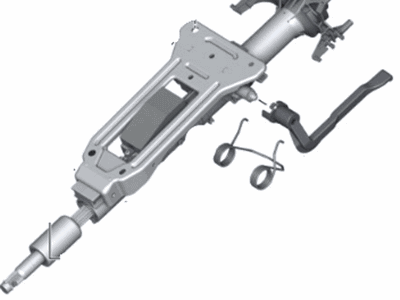
Part Number: 32306786151$895.15 MSRP: $1104.30You Save: $209.15 (19%)Ships in 1-3 Business DaysBMW Z4 Manually Adjust. Steering Column
Part Number: 32306887897$939.89 MSRP: $1159.50You Save: $219.61 (19%)Ships in 1-3 Business Days
BMW Z4 Steering Column
If you are looking for OEM BMW Z4 Steering Column, we highly recommend to shop with us. Not only do we offer budget friendly prices, but we also provide fast delivery. In addition, we have a hassle-free return policy on all genuine BMW Z4 Steering Column that come backed by the manufacturer's warranty.
BMW Z4 Steering Column Parts Questions & Experts Answers
- Q: How do you remove, inspect, and reinstall the steering column on BMW Z4?A:To accommodate the Hel scavenged system two new steering column shear-bolts and an intermediate shaft clamp bolt/nut will be used. Start by positioning the car's front wheels with the direction the car was travelling and then, turning the key off and removing the battery negative terminal. Take off the Steering Wheel and the combination switches of the steering column. In the engine compartment, it is necessary to take paint or another suitable marker to make the alignment marks between the lower end of the steering column and the intermediate shaft upper joint. C- Unscrew and pull out the nut and the clamp bolt and also withdraw the shaft from the column. Remove connection in the electrical connectors of the Ignition Switch and release the harness from clips fastened on the column. Depress the tab to unlock the interlock cable and pull it loose from the steering column. By two nuts and one bolt and one shear-bolt, steering column is fixed, and shear-bolt can be pull out by hammer n chisel or any bolt / stud extractor. Screw out the remaining mounting bolt/nuts, the column can now be squeezed upwards off the firewall, carrying with it the rubber mounting, mounting seat, washer, and fixing ring. Check the steering column and the steering shaft for any sign of dent or twist; the free-play in the column bushing can also be checked; any case of column dent and twist may need overhauling by a qualified workshop. For installation, it is recommended that the mounting rubbers are correctly positioned and the collars should be fitted. Insert the fixing ring, washer, mounting seat and rubber mounting over the lower end of the steering column. Move the column into position, connect it with the splines of the intermediate shaft, make sure the marks that have been made before the removal of the system are in place. Position the lower end of the column back in the seat and install the mounting bolts and a new sheer-bolt tight enough to take a little preload. Squeeze the column shear-bolt until its head is crushed to fit the hole and thereafter; tighten the other column mounting bolts. Reinstall back the wiring connectors onto the ignition switch and neatly fix the wiring to the column to proper routing. Align the intermediate shaft and column marks, place the column in the shaft anew, and replace the clamp bolt nut with new one, and then torque it. If it is needed, connect the interlock cable to the switch, install two combination switches and fix the steering wheel to its place.
Related BMW Z4 Parts
Browse by Year
2024 Steering Column 2023 Steering Column 2022 Steering Column 2021 Steering Column 2020 Steering Column 2019 Steering Column 2016 Steering Column 2015 Steering Column 2014 Steering Column 2013 Steering Column 2012 Steering Column 2011 Steering Column 2010 Steering Column 2009 Steering Column 2008 Steering Column 2007 Steering Column 2006 Steering Column 2005 Steering Column 2004 Steering Column 2003 Steering Column
