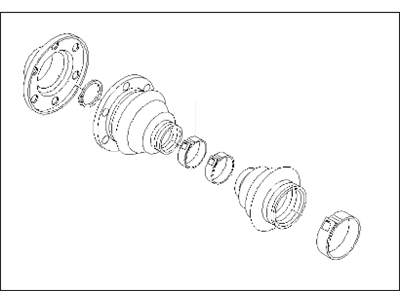
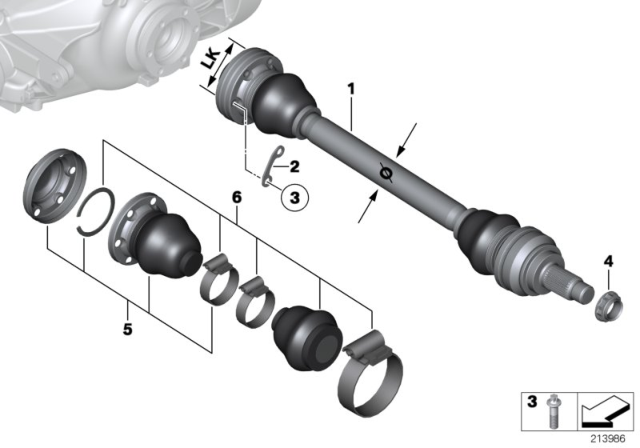
If the CV joints are worn, suggesting an overhaul is necessary (typically due to torn boots and lost grease), consider all possibilities before starting. Complete rebuilt CV boots are available for exchange, which can save a significant amount of time and labor. To begin, remove the CV boot. Clean it and mount it in a vise. Release the two inner joint boot-retaining clips, freeing the boot and dust cover. For E-series models, pry off the sealing cover from the end of the inner CV joint. Scoop out excess grease and, on E-series models, remove the inner joint snap-ring from the end of the driveshaft. Securely support the joint's inner member and tap the CV boot out using a hammer and drift. If the joint is tight, a puller might be needed. Don't disassemble the inner joint and, for F-series chassis models, don't attempt to separate the inner CV joint from the shaft. After removing the joint, slide off the inner boot and dust cover. Release the outer joint boot retaining clips, then slide the boot off. Clean the CV joints with solvent and dry them. Inspect each ball for cracks, flat spots, or pitting signs. Check the ball tracks on the inner and outer members for wear. If any components are damaged, they should be replaced. If the joints are okay, get new boot repair kits. Tape over the CV boot splines, slide the new outer boot on, pack it with grease, and secure it with retaining clips. Engage the new inner boot with its dust cover and slide it onto the CV boot. Remove the tape, install the inner CV joint, and secure it with a new snap-ring. Fill the boot with grease, position it, and press the dust cover onto the joint, ensuring proper alignment. Lift the boot's outer sealing lip to balance the air pressure and secure it with retaining clips. Apply a sealant (BMW suggests BMW sealing gel) and press the new sealing cover onto the inner joint's end. Ensure both CV joints move freely before installing the CV boot.
Posted by BMWPartsDeal Specialist 


