×
- Live Chat
- 1-888-580-1680
My Garage
My Account
Cart
Genuine BMW 335i Transmission Assembly
Trans Assembly- Select Vehicle by Model
- Select Vehicle by VIN
Select Vehicle by Model
orSeries
Model
Year
Select Vehicle by VIN
For the most accurate results, select vehicle by your VIN (Vehicle Identification Number).
19 Transmission Assemblies found


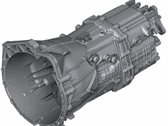
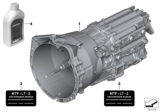
BMW 335i Exchange 6 Speed Gearbox
Part Number: 23007599342$3509.52 MSRP: $4398.21You Save: $888.69 (21%)Ships in 1-3 Business Days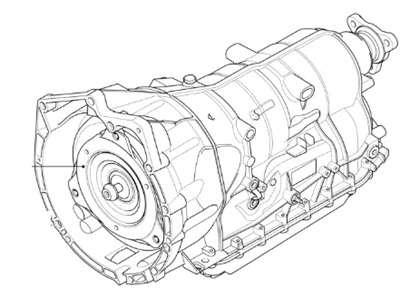
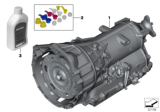
BMW 335i Exchange. Automatic Transmission Eh
Part Number: 24007630983$5496.94 MSRP: $6922.10You Save: $1425.16 (21%)Ships in 1-3 Business Days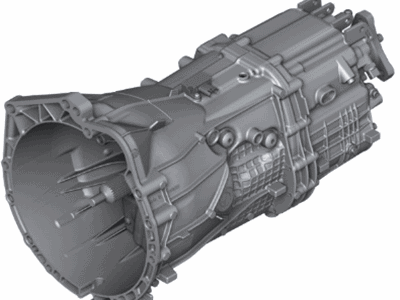
BMW 335i Exchange 6 Speed Gearbox
Part Number: 23008609414$3589.19 MSRP: $4499.38You Save: $910.19 (21%)Ships in 1-3 Business Days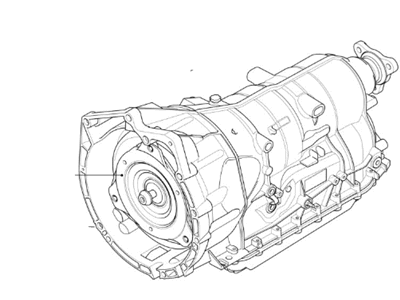
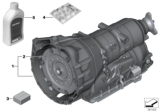
BMW 335i Exchange. Automatic Transmission Eh
Part Number: 24007564242$5374.40 MSRP: $6766.49You Save: $1392.09 (21%)Ships in 1-3 Business Days
BMW 335i Exchange. Automatic Transmission Eh
Part Number: 24008601194$7127.35 MSRP: $9021.96You Save: $1894.61 (21%)Ships in 1-3 Business Days
BMW 335i AUTOMATIC TRANSMISSION EH
Part Number: 24007633691$9776.66 MSRP: $12415.75You Save: $2639.09 (22%)Ships in 1-3 Business Days
BMW 335i AUTOMATIC TRANSMISSION EH
Part Number: 24007633697$9776.66 MSRP: $12415.75You Save: $2639.09 (22%)Ships in 1-3 Business Days
BMW 335i AUTOMATIC TRANSMISSION EH
Part Number: 24007643676$9776.66 MSRP: $12415.75You Save: $2639.09 (22%)Ships in 1-3 Business Days
BMW 335i Automatic Transmission EH
Part Number: 24007647341$9776.66 MSRP: $12415.75You Save: $2639.09 (22%)Ships in 1-3 Business Days
BMW 335i Automatic Gearbox Eh
Part Number: 24008601207$9776.66 MSRP: $12415.75You Save: $2639.09 (22%)Ships in 1-3 Business Days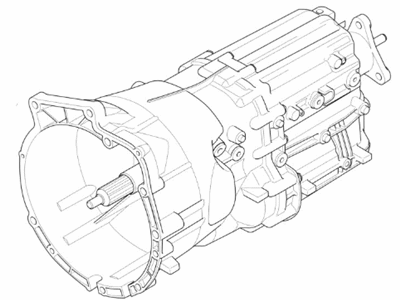
BMW 335i Exchange 6 Speed Gearbox
Part Number: 23007571423$3589.19 MSRP: $4499.38You Save: $910.19 (21%)Ships in 1-3 Business Days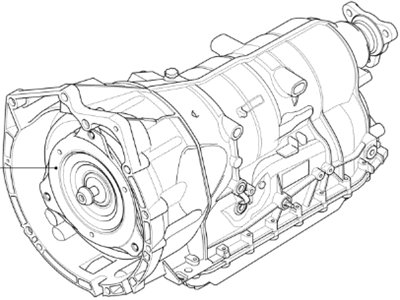
BMW 335i Exchange. Automatic Transmission Eh
Part Number: 24007572071$5496.94 MSRP: $6922.10You Save: $1425.16 (21%)Ships in 1-3 Business Days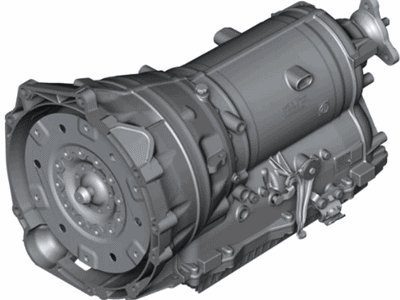
BMW 335i Exchange. Automatic Transmission Eh
Part Number: 24008645377$7313.85 MSRP: $9229.47You Save: $1915.62 (21%)Ships in 1-3 Business Days
BMW 335i Exchange. Automatic Transmission Eh
Part Number: 24007643677$7299.15 MSRP: $9229.47You Save: $1930.32 (21%)Ships in 1-3 Business Days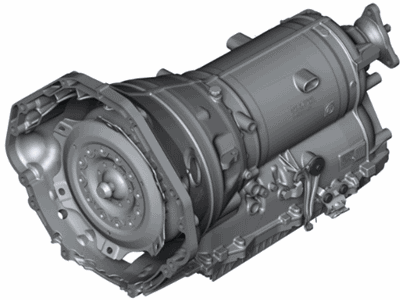
BMW 335i Exchange. Automatic Transmission Eh
Part Number: 24008601206$7313.85 MSRP: $9229.47You Save: $1915.62 (21%)Ships in 1-3 Business Days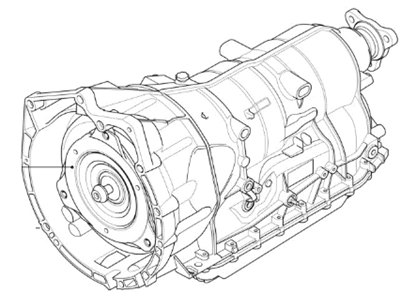
BMW 335i Automatic Gearbox Eh
Part Number: 24007592493$7378.70 MSRP: $9311.82You Save: $1933.12 (21%)Ships in 1-3 Business Days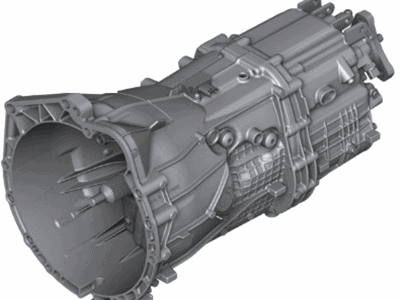
BMW 335i Exchange 6 Speed Gearbox
Part Number: 23007617492$3589.19 MSRP: $4499.38You Save: $910.19 (21%)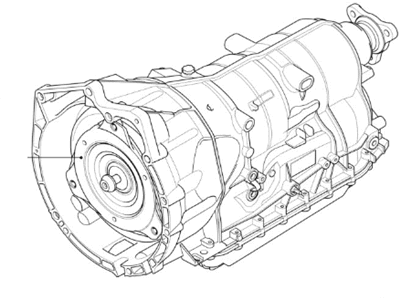

BMW 335i Transmission Assembly
If you are looking for OEM BMW 335i Transmission Assembly, we highly recommend to shop with us. Not only do we offer the most budget friendly prices, but we also provide fast delivery. In addition, we have a hassle-free return policy on all genuine BMW 335i Transmission Assembly that come backed by the manufacturer's warranty.
BMW 335i Transmission Assembly Parts Questions & Experts Answers
- Q: How to disconnect and remove the manual transmission and related components on BMW 335i?A: Disconnect the negative (-) cable from the battery, ensuring to read the battery disconnection cautions beforehand. Raise and safely support the vehicle, then remove the underbody splash shields and the complete exhaust system, followed by the exhaust system heat shields. For xDrive models, remove the front drive shaft, and for all models, detach the rear driveshaft from the output flange by removing the center bearing support fasteners and supporting the center of the driveshaft. Detach the rear driveshaft flex-disc from the transfer case and lower the center of the driveshaft to disengage the flex-disc from the transfer case flange, tying the driveshaft to the side. Disconnect the harness connector from the back-up light switch on the transmission, remove fasteners and the exhaust bracket, and take off the brackets for the underbody splash shields. Disconnect the oxygen sensor harness connectors, unclip the harness from the bracket, and remove the fastener and bracket from the transmission. Support the transmission on a jack and secure it, then remove the mounting fasteners for the rear transmission support. For xDrive models, remove the transfer case, ensuring to detach the xDrive servomotor harness connectors. Lower the transmission jack slowly, allowing the engine and transmission assembly to tilt back and down slightly, being cautious of engine compartment components. Unbolt the clutch slave cylinder from the side of the transmission without disconnecting the fluid hose, suspending it from the chassis with stiff wire. Unbolt the slave cylinder slowly to prevent air from entering the hydraulic system and avoid operating the clutch pedal with the slave cylinder removed. Remove the shift rod clip and disconnect the shift linkage from the selector shaft coupling, noting that a new, more secure shift rod clip is fitted as of 04/2008. Disconnect the shift console from the top of the transmission, support the front of the engine with a tall jack stand or hydraulic jack, release the locking clips, and lift out the shift arms. Remove the transmission mounting Torx-head bolts, noting their length and location, as the number, size, and location of fasteners vary with the transmission installed. Remove the transmission by pulling it backward until the input shaft clears the clutch disc splines, then pull it downwards and lower the transmission jack to remove it, ensuring not to let the transmission hang from the input shaft. Check that the bellhousing alignment dowel sleeves are correctly located and replace any damaged sleeves. Inspect the clutch, clutch release bearing, and flywheel, repairing as necessary, and check and repair the transmission seals. Reinstall the transmission and xDrive transfer case if equipped, transferring parts from the old transmission if installing a new one, thoroughly cleaning the input shaft and clutch disc splines, and lightly lubricating the transmission input shaft splines before installation. Reinstall the transmission support, centering the rear of the transmission in the driveshaft tunnel before tightening the support bracket bolts, and reinstall the driveshafts using new self-locking nuts while holding the bolts stationary during tightening to avoid damaging the flex-disc rubber. For xDrive models, refill the transfer case and refill the transmission before starting or towing the vehicle.